
How to Produce Professional Documents with LaTeX
A simple guide to learning LaTeX for formatting your professional documents
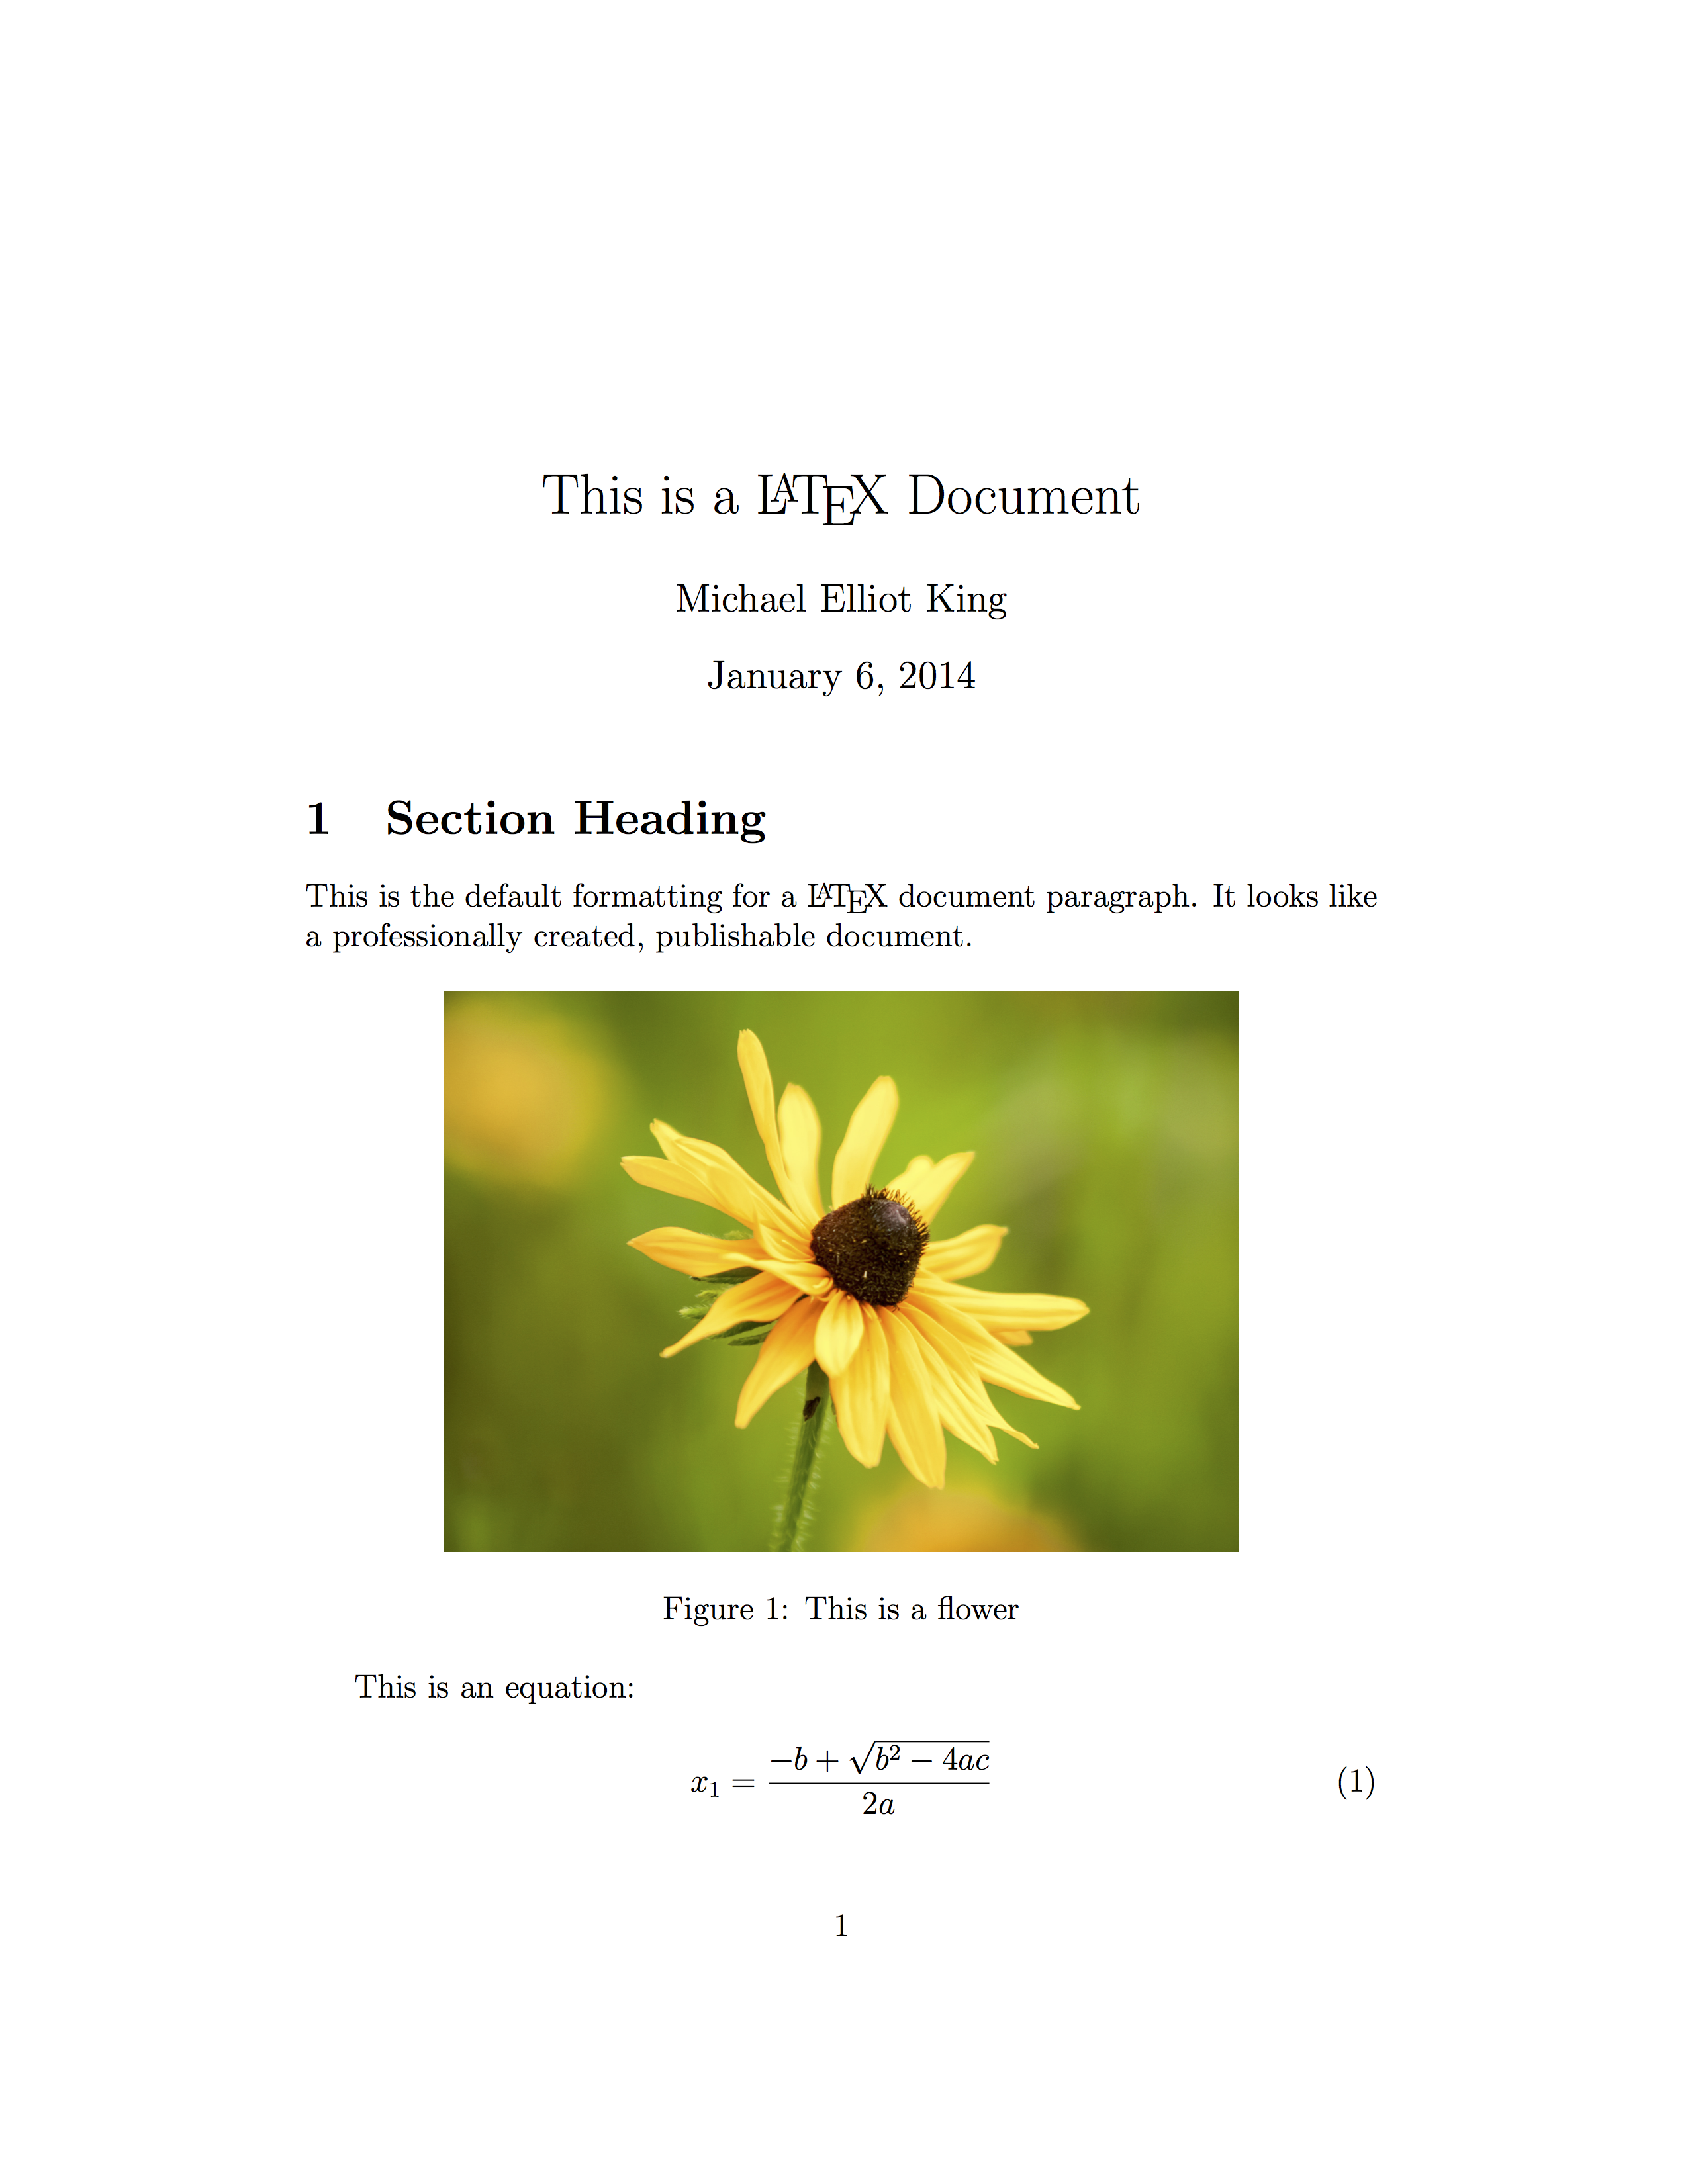
If you’ve seen a university level math or science assignment, or read something published in an academic journal, then you’ve seen the results of LaTeX and would recognize its fonts and formatting.
What is  ?
?
LaTeX (pronounced lay-tek, NOT lay-teks) is a free, digital typesetting system used by professionals to produce beautiful, high-quality, publishable documents, typically in .pdf format. Rather than typing your document into a word processor, like Microsoft Word, your content is written in plain text in a text editor along with code to provide instructions. Your content is compiled using the LaTeX engine–software that runs in the background–which interprets your code, applies formatting to your text, and outputs a professionally produced document. LaTeX is common in the academic world for assignments, papers, exams, and research, and is often used for resumés and books. It requires a small learning curve, but the benefits are worth it.

\begin{equation}
	{\partial{\bf u}\over{\partial t}} + ({\bf u} \cdot \nabla) {\bf u} = - {1\over\rho} \nabla p + \gamma\nabla^2{\bf u} + {1\over\rho}{\bf F}
\end{equation}
History
Donald Knuth, a pioneer of computer science, wrote a series of books on computer programming in the 1970s and was so frustrated with the quality of the output by the electronic publishing tools that he spent years creating a better system. This would become TeX, a complex system to give full control over document layout that would later be simplified by Leslie Lamport to become the LaTeX system used today.
Why Use LaTeX?
Produce Beautiful Documents Like A Professional Publisher
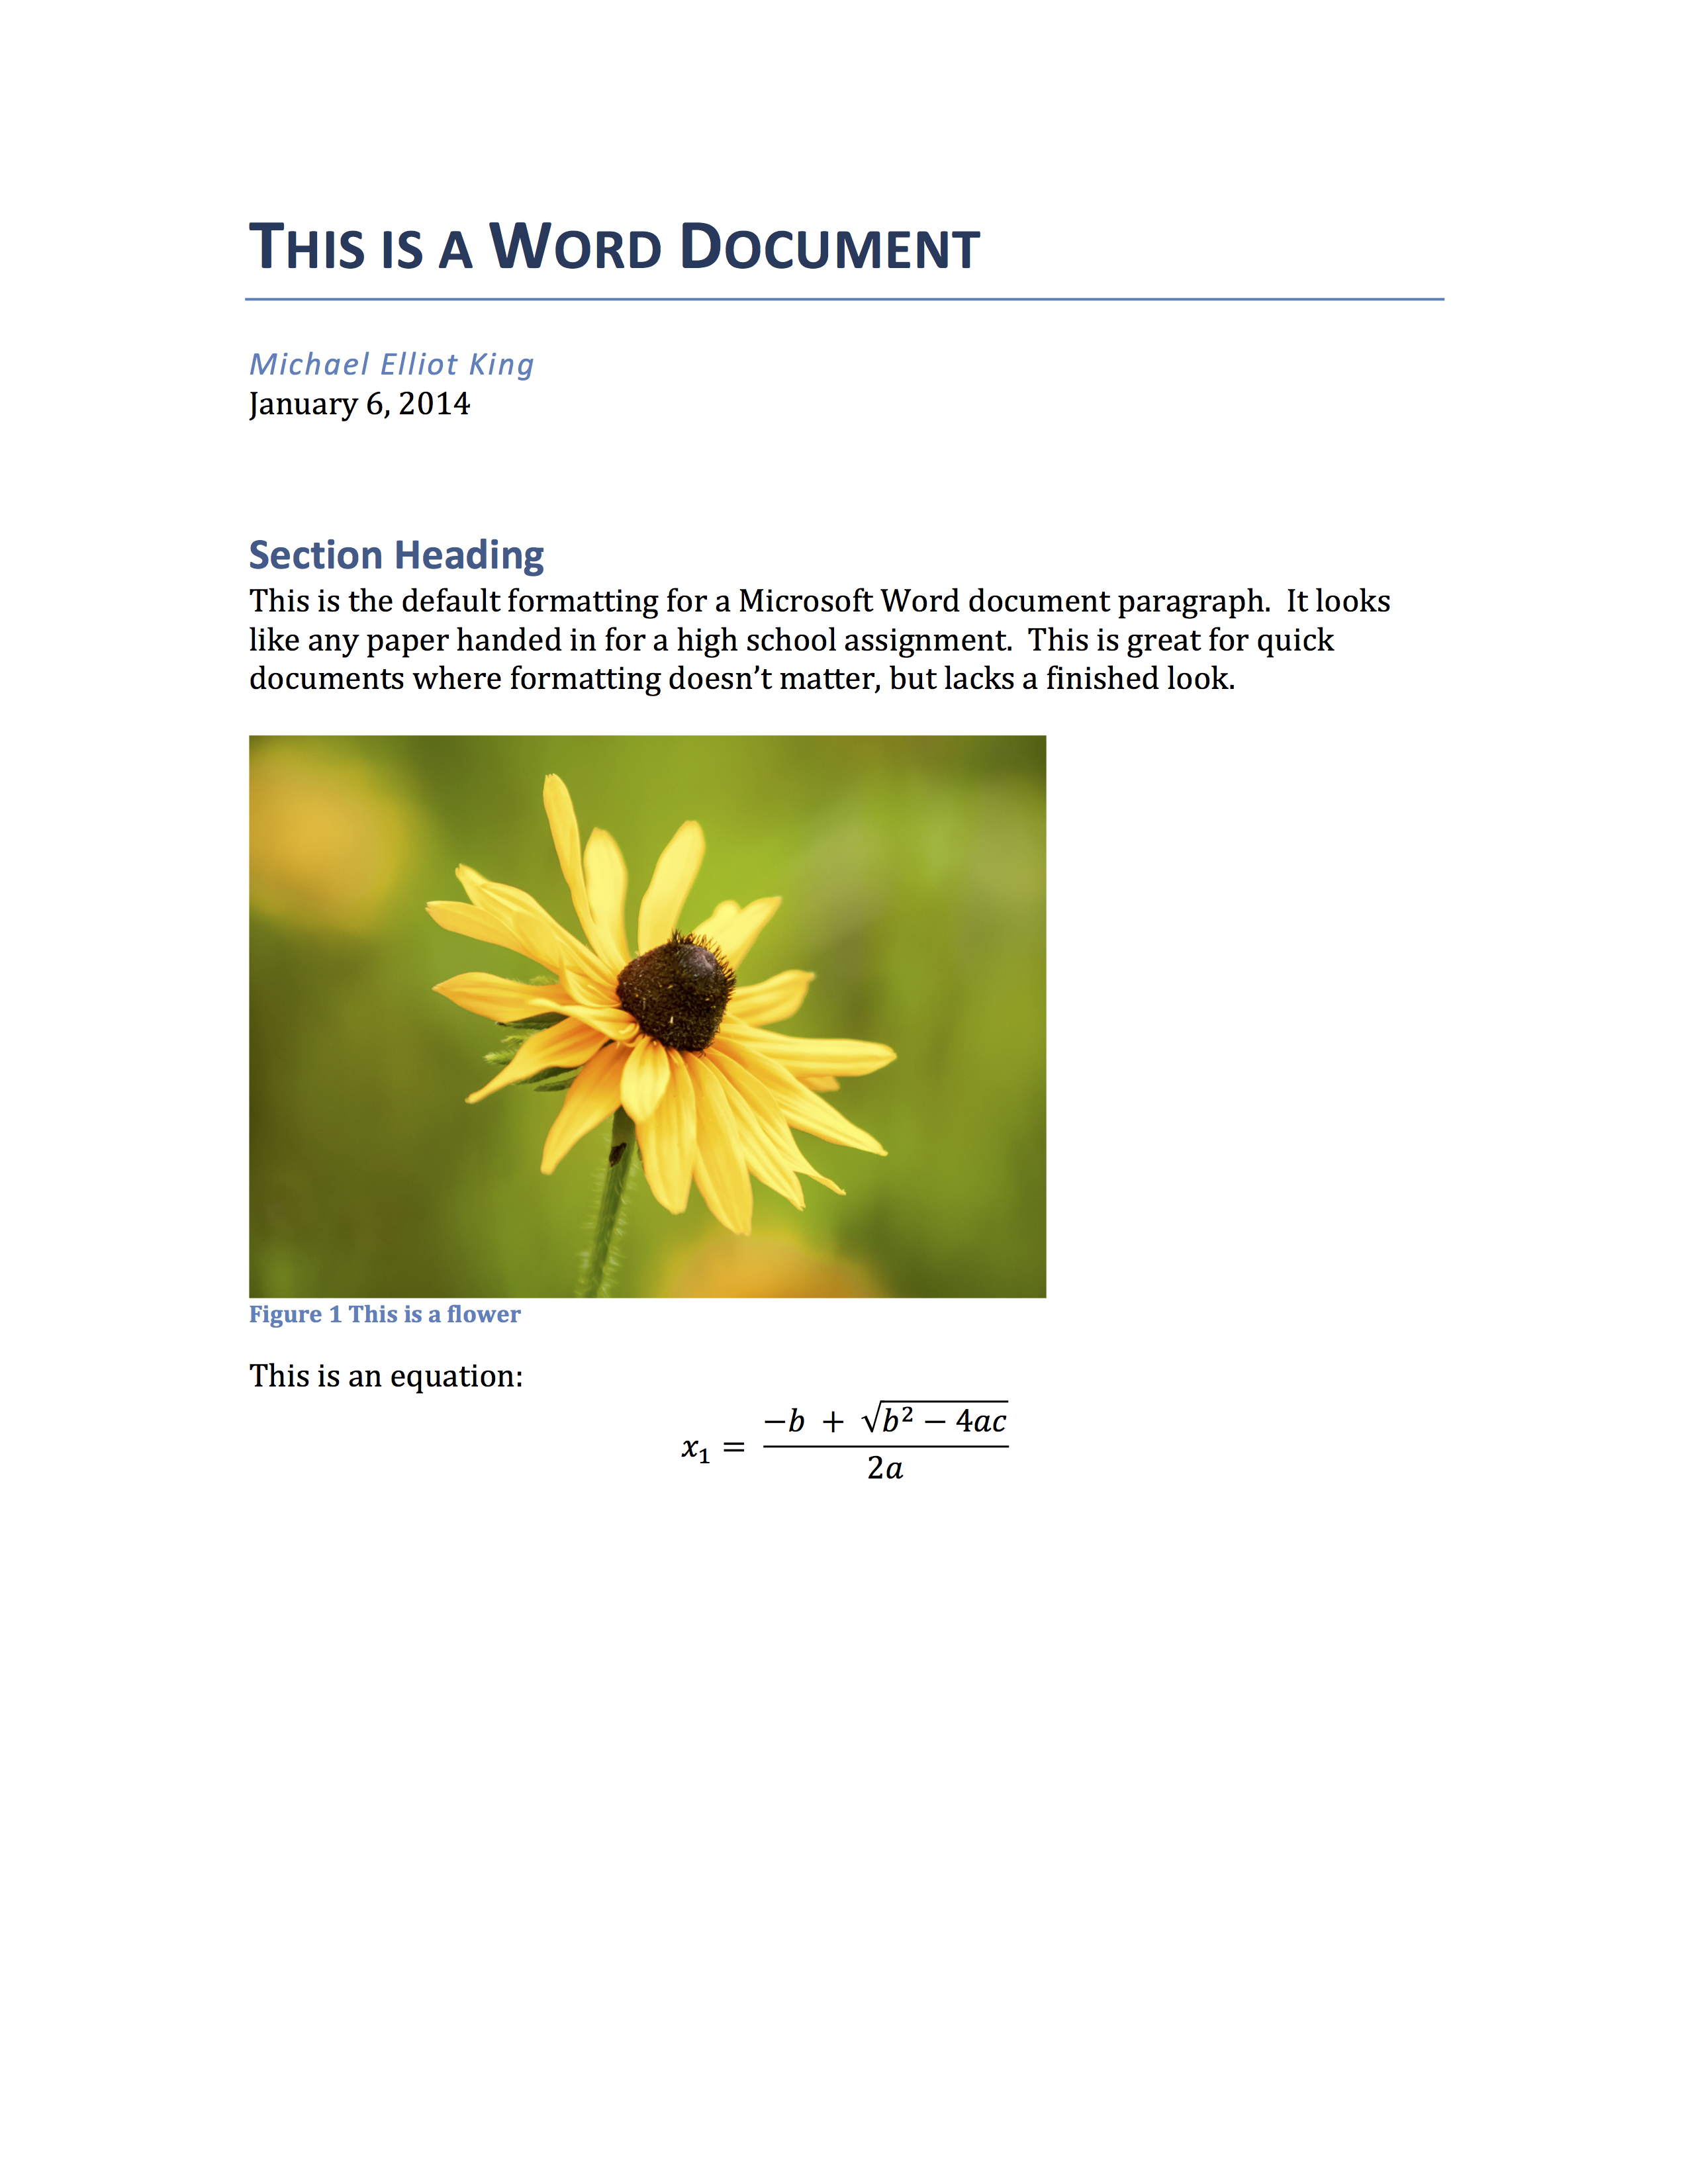
What sets LaTeX apart from standard WYSIWYG (What You See Is What You Get) word processors like Microsoft Word and Open Office is how it decides to process and format your content. Like a publishing company, LaTeX considers the document and all its features a cohesive unit. It processes the document through algorithms that precisely format the text, paragraphs, and pages into a complete, polished product. Word processors, on the other hand, format on the fly. They disregard the document’s complete aesthetic and require you to consider formatting as you type. Any user of Word understands the frustrations of fitting paragraphs on a page, aligning text and images, referencing figures, adjusting the size and look of titles and sections, and undoing the autoformatting Word forced upon them.
These issues distract you from the task of writing. LaTeX affords focusing on the content because the structure and format are defined within the text using logical commands which are textual, not visual. It requires you to consider only the content while you write and adjust formatting when you’re finished.
Advanced Features
LaTeX has advanced features beyond its efficiency, aesthetic, and price. It is portable in size and compatibility; plain text files are light and the LaTeX system is available for every operating system. This makes version control possible, which is great for documents that are updated often, like resumés and papers with multiple drafts. It also means a document can be worked on by multiple people simultaneously and across operating systems.
For long documents, LaTeX outperforms Word at arranging chapters, sections, references, and figures, and because it is lightweight, it won’t crash when documents become large – like Word will. There are also thousands of auxiliary packages that add functionality to the base LaTex system. You can create math equations, elaborate tables, Gantt charts, flow charts, and even vector graphics with the available packages. Take advantage of these for nearly unlimited control over a document’s output. A quick Google search will locate them.
How to Use LaTeX
Choose a Program
LaTeX differs from word processors in that it doesn’t have a native graphical user interface, so there are a few ways it can be used. The fastest way to start is with a web-based program that has nothing to install. These are free for personal use, have nice interfaces, and make it easy to learn the basics of creating LaTeX documents. However, I recommend turning off the auto-compile feature as this does not allow you to focus on the content of the work, as intended with LaTeX. Try one of these websites, create an account, and get started.
Web Apps - Easiest Way to Start
If you want to manage your files locally, rather than deal with the website every time, there are many free programs. All are similar, but I would suggest TeXstudio. It has features that make learning and debugging easy, and the interface is approachable. These applications install like any program and include the packages you need to begin. If you are going to be using LaTeX for more than just a resumé, having it on your computer is ideal. Follow the installation instructions and start a new document.
Programs to Compile on Your Own Computer
- TeXstudio - (Mac, Linux and Windows - Recommended)
- TeXworks - (Mac, Linux and Windows)
- TeXshop - (Mac only)
- MiKTeX - (Windows only)
For the advanced user, I recommend adding the LaTeXTools compiler plugin to Sublime Text through Package Control. Sublime Text is an amazing text editor with great features and customization. The LaTeXTools plugin makes preparing large documents with chapters, figures, and citations a breeze. Begin by creating a new blank text document and saving it as a .tex file.
Advanced Users - Text Editor with Compiler
- Sublime Text 3 - Great text editor for developers (Free unlimited trial version)
- Package Control - Manager for the Sublime Text add-ons
- LaTeXTools - Plugin to compile LaTeX right in Sublime Text
The Basics
LaTeX is a markup language like HTML and uses “tags” to describe formatting and structure the document. Tags are typically intuitive or at least easily remembered. Most tags and commands begin with a backslash and are followed by curly brackets. All new tags and commands start on new lines, so spaces and tabs are irrelevant and notation is not needed to end a line. To create a section heading, the code is:
\section{This Is My Section Heading} When your document is compiled, this is be formatted to look like a section heading. This syntax works for many one-line commands:
\chapter{Chapter Title}
\section{Section Heading}
\subsection{Subsection Heading}
\subsubsection{Subsubsection Heading}
\paragraph{The Heading of a Paragraph}
\label{identifier for some item in my document}
Some parts of the document require bookend tags to define the contents of the object. This is done by creating a \begin and \end tag, and putting the content between them:
\begin{document}

	\begin{figure}
		\includegraphics[width=4in]{boat.jpg}
	\end{figure}

	\begin{equation}
		{ x_{1} = {-b + sqrt{b^{2}-4ac}} } \over {2a}
	\end{equation}

\end{document}
Formatting is done using a tag to begin the formatted text and brackets surrounding the text to be formatted:
\begin{center} % Center text (followed by \end{center} of course)
\begin{flushleft} % Left justified
\begin{flushright} % Right justified

\textbf{text} % Bold
\textit{text} % Italic
\underline{text} % Underline

{\tiny text} % tiny font size - relative to the default size
{\small text} % small font size
{\large text} % large font size
{\huge text} % huge font size
As seen above, using a percent symbol begins a comment. Comments – everything that follows the % on a line of code – is not printed when the document is compiled. Use them as hidden notes when inserting new or unclear commands, or to mark sections of text for easy navigation. Comments are also a good tool for debugging, by “commenting out” some lines rather than deleting them:
% \begin{figure}
%	\includegraphics[width=4in]{boat.jpg}
% \end{figure}
All documents require preamble code to set up document type, author, title, date, fonts, colors, symbols and additional packages. This is be defined at the top of your code, before the \begin{document} tag. Document class always goes first to define the type of document, which can be an article, report, letter, book, proc, or slides. Modifiers are added to commands to specify details like font size, paper size, double-sided, or a titlepage. These are added between square brackets inside the command:
\documentclass[12pt, letterpaper]{article} % defines an "article" style document, font size, and paper sizeIf your document has a title, author, or specific date, define it in the preamble:
\title{My First \LaTeX{} Document}
\author{My Name}
\date{\today}
This shows up in the title according to the default formatting dictated by the document class. Insert your title with ‘\maketitle’:
\begin{document}
\maketitle
	Your document content goes here
	...
\end{document}
Try it Out
Now that we’ve covered the basics, try creating your first LaTeX document. Type the following code into a blank document:
\documentclass[12pt, letterpaper]{article}

\title{My First \LaTeX{} Document}
\author{Michael Elliot King}
\date{\today}

\begin{document}
\maketitle

\section{Hello World}

	Hello World!

\end{document}
Compile the code using a button like Compile, Typeset, or PDF – these vary by application. Your output should look like this:
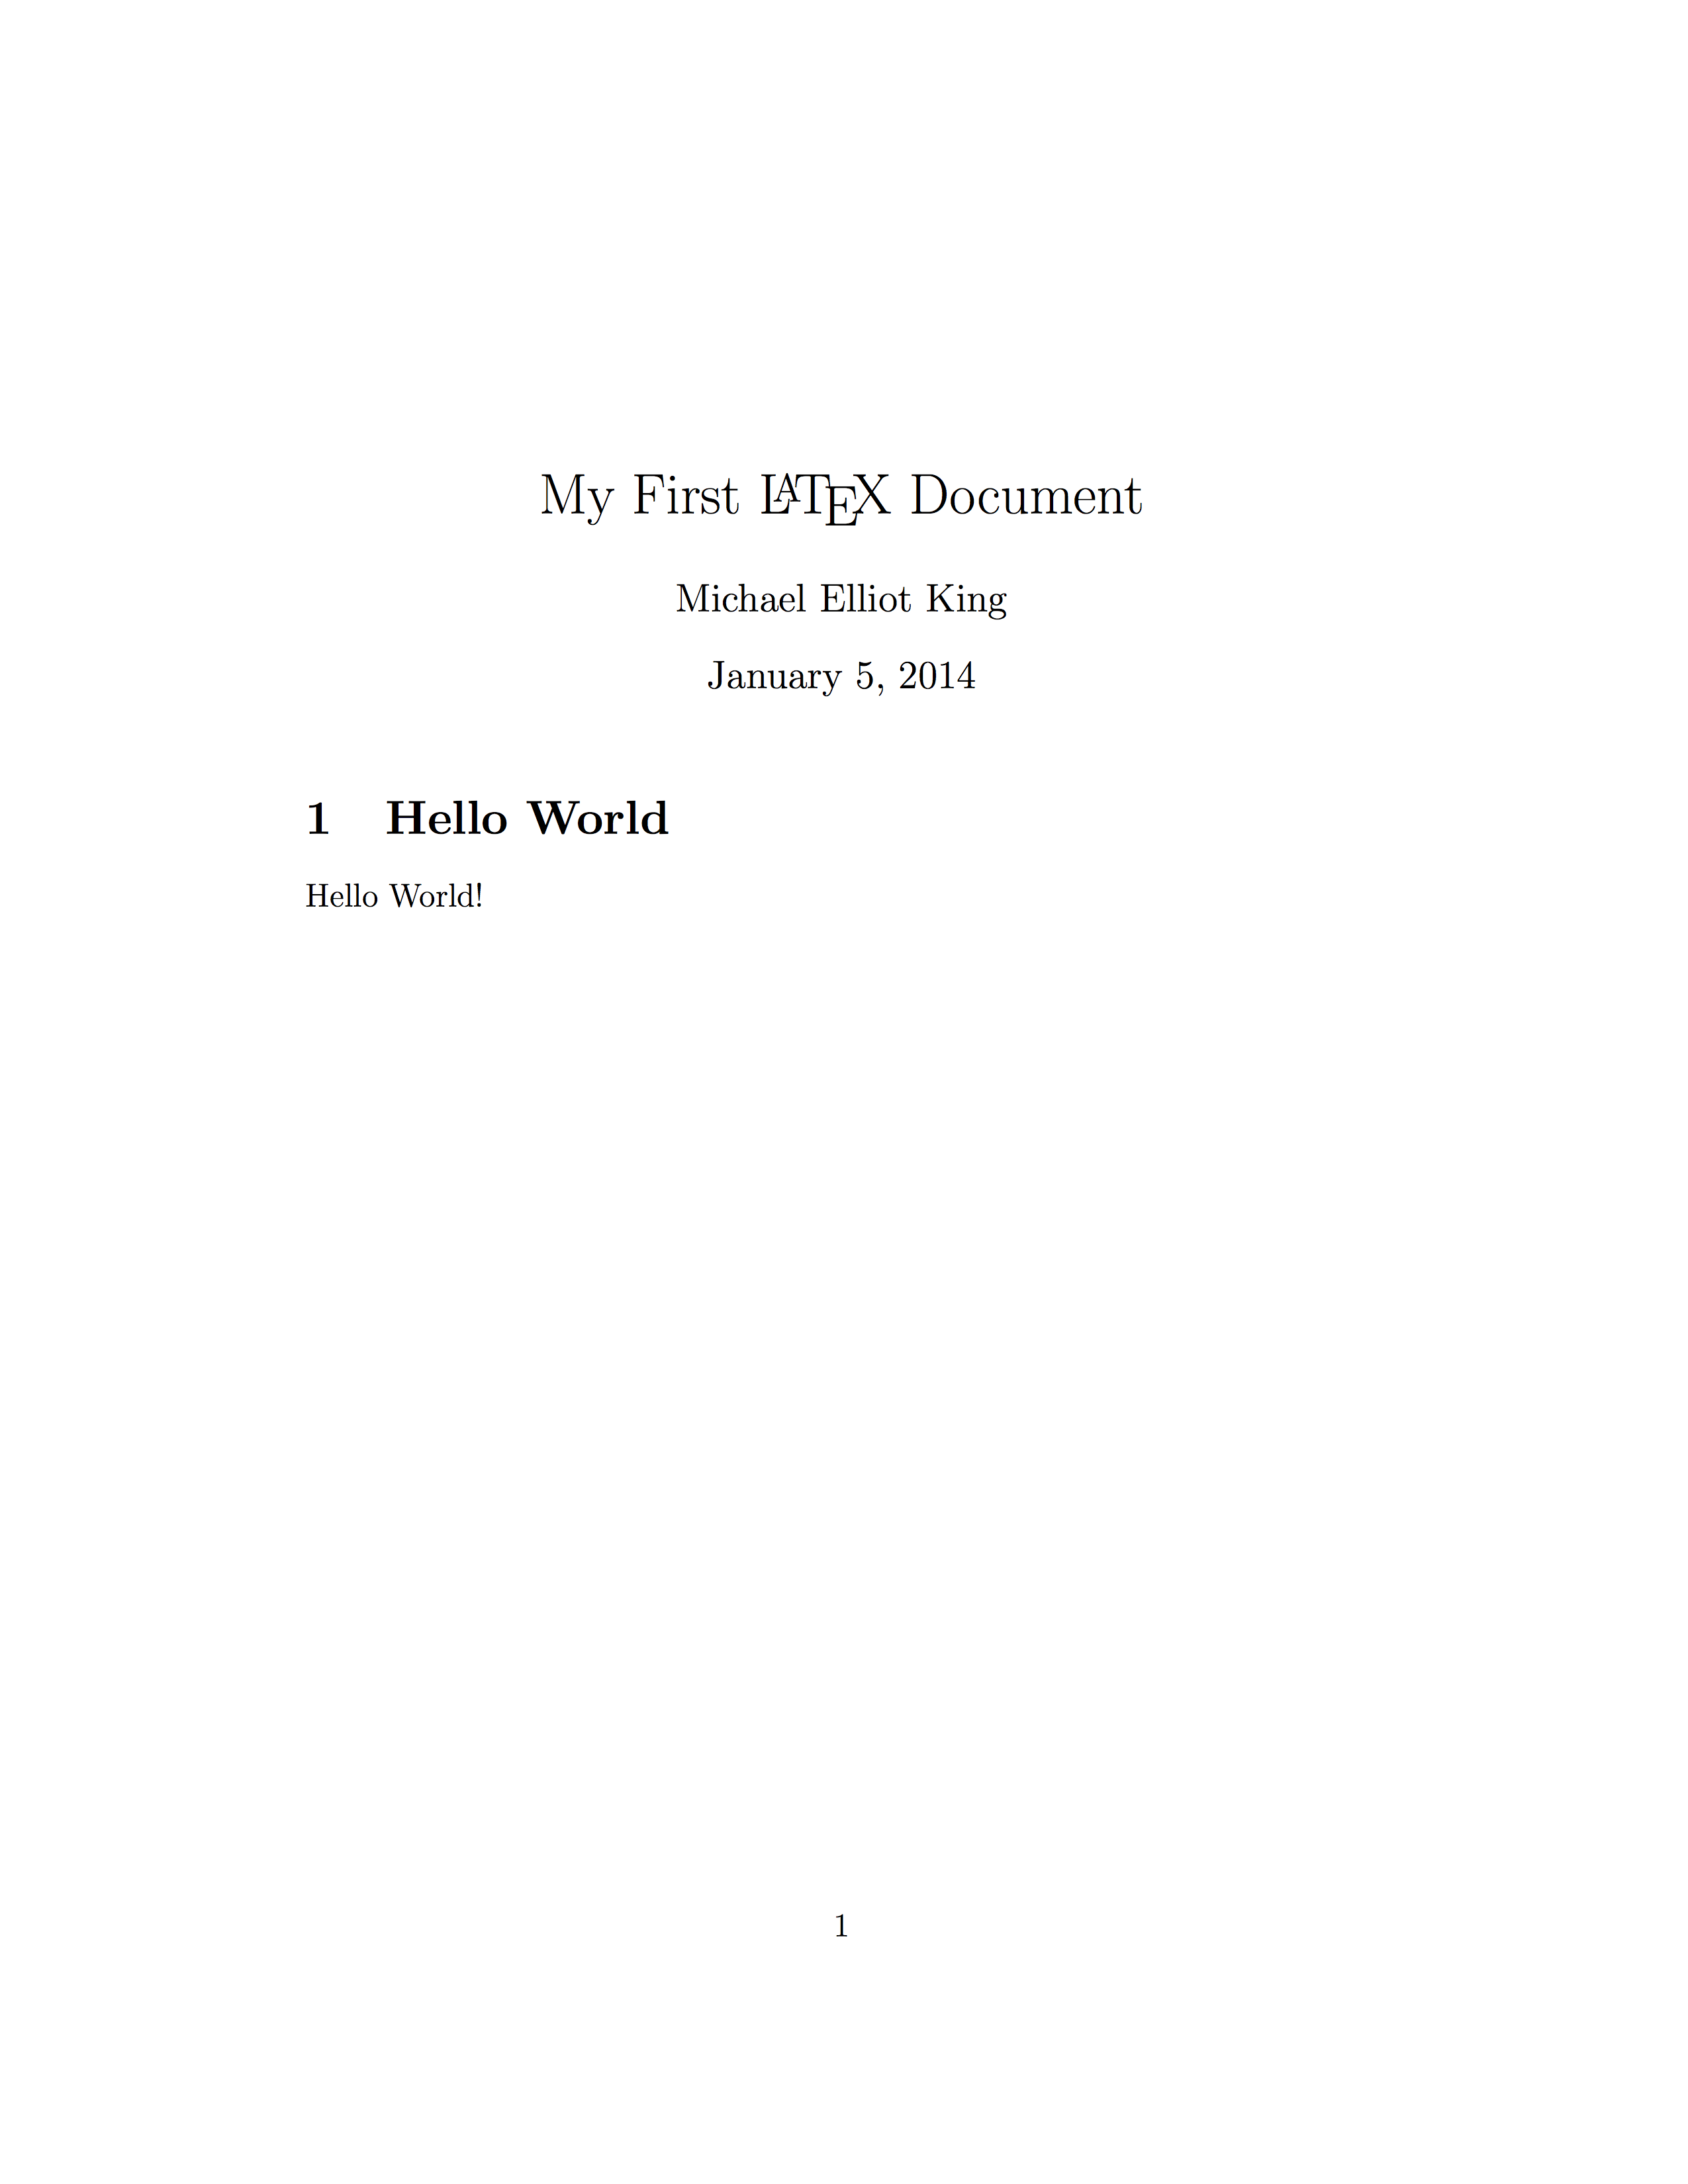
Hopefully everything worked and you now have your first LaTeX document! Time to begin writing your own content and getting the hang of things.
If it didn’t work the first time, don’t worry. It’s common to get errors in your code, for misspelled words or incorrect syntax, so inspect the log that explains the error and use the line number to locate the mistake. Some debugging is necessary when it doesn’t recognize a part of your code, which can be frustrating.
If I forgot the second e in \maketitle on line 10, the error log will look like this:
There were errors in your LaTeX source

./latex_doc.tex:10: Undefined control sequence. [\maketitl]
The error should follow a similar pattern of [filename]:[line number where error is]:[Vague error description]. [the incorrect content]
Troubleshooting
If your errors are more complicated than unknown commands and spelling mistakes, go to Google. Your questions can almost always be answered with a quick search. It seems no matter what you want to create or what problem you have, someone else has already found the solution. For more concrete help, some resources are:
- The LaTeX Cheat Sheet - A great tool to keep on your computer
- Introduction to LaTeX by Tobias Oetiker - A full length document on everything you could ever know about LaTeX
- An in-depth example of writing mathematics - The PDF and the LaTeX source file
LaTeXing your Resumé
LaTeX is an excellent tool for making a pedestrian resumé look polished, but starting from scratch is tough. However, a lot of LaTeX templates exist for resumés, so I would suggest starting with one and customizing it. There are tons that apply to different fields and styles, but here is a list to get started:
I have included the template I used for my CV, which I based on a template by Dario Taraborelli, with some help from Jaan Altosaar, and customized for my needs. A great way to learn LaTeX is to study a completed document, so I have filled the template with comments to explain what does what in the code. It is an academic resume and contains more sections than you’ll need, so include only what applies to you and make changes as you please. In addition to formatting help, I have tried to include general resumé tips I’ve picked up, so use those as you wish.
Download the template from my GitHub page and get started!
If you spot a mistake in this article or you have something to add, please email me.